
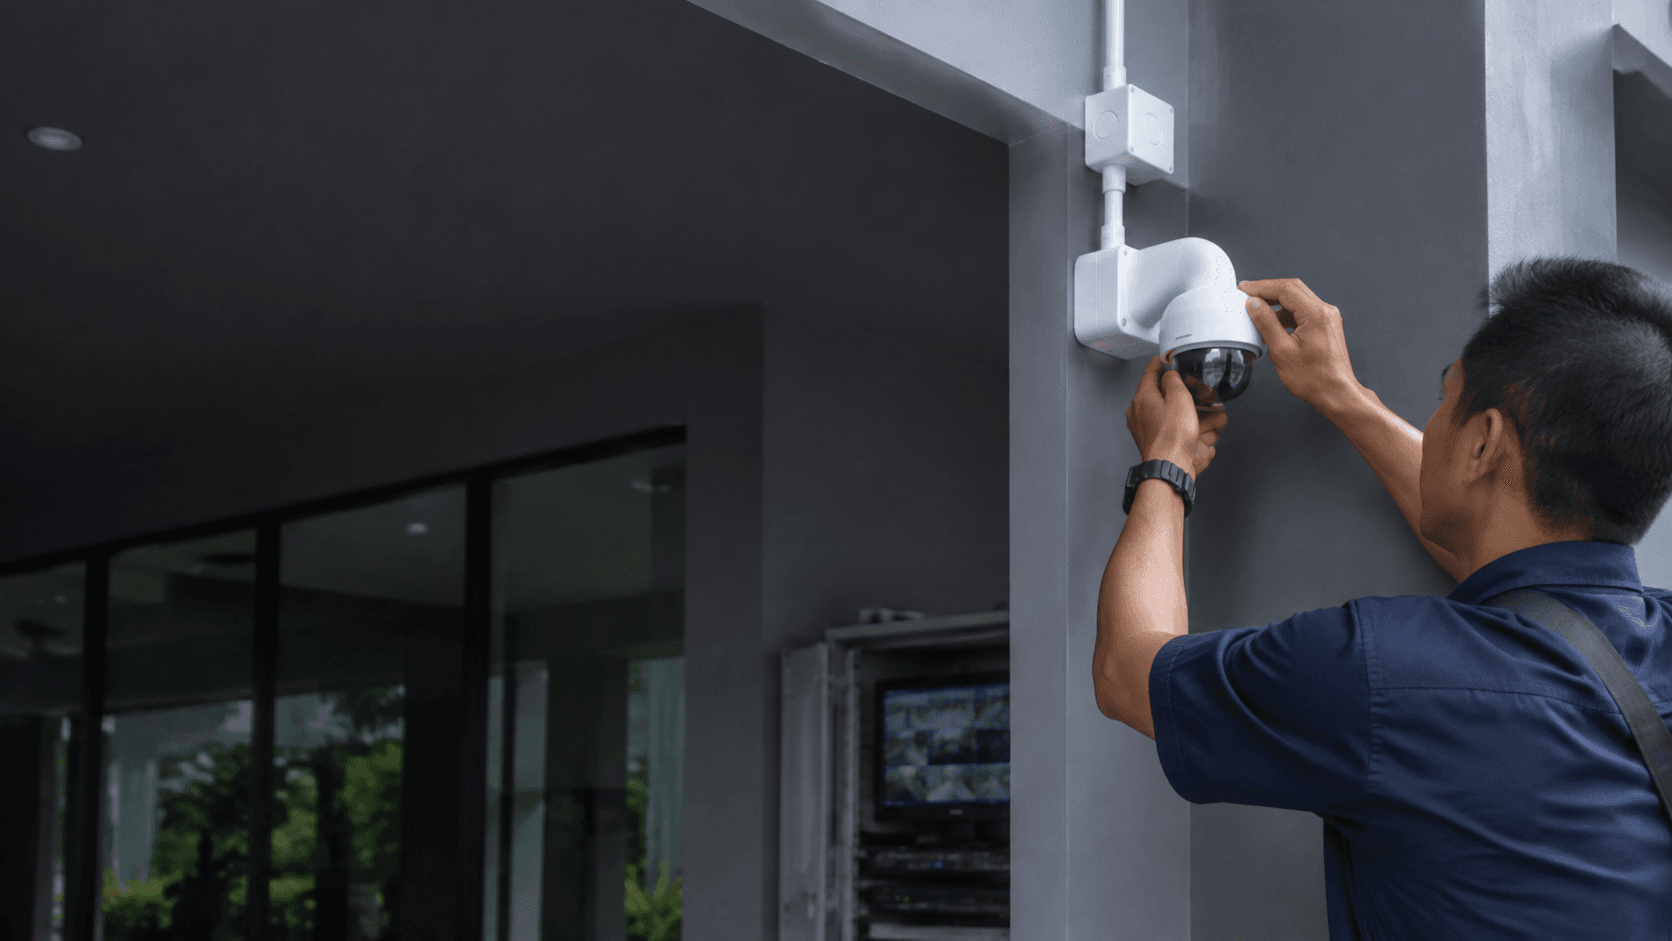
The exact phrase adt outdoor camera installation describes a process rather than a single product. Readers in Malaysia searching it usually want to know how an outdoor camera gets mounted, what the installer checks first, and whether the job is a weekend DIY task or a professional visit. The honest answer sits between those poles: the physical mounting is rarely the hard part, while placement, cabling, recording configuration, and remote viewing are where most installations succeed or fail.
This article covers the sequence, the placement decisions that matter more than camera choice, what a site survey examines, how lighting and cabling behave in Malaysian conditions, and how to plan the next practical step. It draws on Eyonic's documented installation process and project work in Sarawak, and it stays clear of ADT product specifications, pricing, and dealer arrangements for Malaysia, because none of those were supplied as verified facts.
ADT Outdoor Camera Installation. What the Process Involves
An outdoor camera installation is a short list of decisions followed by a longer list of small physical tasks. The decisions come first because they determine where cable runs, where the recorder sits, and which camera model suits the light at each position.
Eyonic's documented CCTV installation process runs through four stages: site survey, system proposal, installation, and handover. That structure applies whether the property is a single-storey house, a shop lot, or an office floor.
- Site survey. The installer walks the property, checks entry points, lighting, mounting surfaces, and where power and network connections can reach.
- System proposal. Camera count, camera type, recorder capacity, and cabling route are proposed against the survey findings rather than a standard package.
- Installation. Brackets, cable runs, the recorder, and power connections are installed, then each camera is aimed and focused.
- Handover. Recording, playback, and remote viewing are tested with the property owner, and the settings are explained.
The sequence matters because skipping the survey produces the most common failure: a camera that covers the wrong angle, or a cable run that has to be redone. A camera aimed at a gate from the wrong height records the top of a visitor's head rather than a face.
What changes between a house and a commercial site
A home installation usually involves four to eight cameras, one recorder, and a single remote-viewing account. A commercial site adds complexity: more entry points, staff and visitor movement to separate, longer cable runs, and often a requirement that recordings remain available for longer periods.
Eyonic's work for the Kuching Immigration Office illustrates the commercial pattern. That project focused on arrival flow, staff areas, visitor movement, and dependable daily operation rather than on a fixed camera count. A public office cannot afford a camera that fails quietly, so the design priority shifts toward coverage that keeps working.
Why Outdoor Camera Placement Matters More Than Camera Choice
Two cameras with identical specifications produce very different footage depending on where they are mounted. Height, angle, distance to the subject, and the direction of the sun all change what the recording actually shows.
Placement decisions that carry the most weight:
- Height. Mounting too high gives a wide view but a poor facial angle. Mounting too low invites tampering.
- Angle to the approach. A camera looking along a path records people approaching. A camera looking across a path records people passing.
- Distance to the subject. A camera covering a gate from 15 metres away records less usable detail than one covering it from 5 metres.
- Light direction. A camera facing the afternoon sun produces glare and washed-out footage for part of the day.
- Overlap. Adjacent cameras should overlap slightly so there is no unrecorded gap between fields of view.
Camera choice still matters, but it is a second-order decision once placement is fixed. A better camera in a poor position records poor footage. A modest camera in a well-chosen position records usable footage.
Where outdoor cameras usually go
Common positions include the main gate or vehicle entry, the front door approach, a side or rear access point, and any external area holding equipment or stock. Each position has a purpose, and a camera without a stated purpose tends to become an unused camera.
For properties with a covered porch or car porch, the mounting surface is usually available and the cable route is short. For open perimeter walls, the installer has to solve both mounting and cable protection, which is where the survey earns its time.
What a Site Survey Checks Before Any Camera Goes Up
A site survey is the part of the job that determines whether the rest goes smoothly. It is a physical inspection, not a phone consultation, because several of the checks cannot be answered from a description.
Eyonic's guidance on ColorVu-style cameras makes the point directly: actual lighting conditions should be checked before confirming placement. A position that looks dark at midday may be lit by a streetlamp at night, and a position that looks bright may sit in deep shadow after sunset.
Survey checks typically cover.
- Entry and exit points. Every route a person or vehicle can use to reach the property.
- Existing lighting. Where light falls at night, and whether it is constant or switched off after a certain hour.
- Mounting surfaces. Wall material, height, and whether a bracket can be fixed securely.
- Cable routes. The path from each camera position back to the recorder, and how the cable will be protected.
- Recorder location. A position with power, ventilation, and reasonable physical security.
- Network and power availability. Whether the recorder can reach the internet for remote viewing.
- Existing systems. Any alarm, intercom, or access-control equipment already installed that the new cameras should work alongside.
The survey also sets expectations about disruption. Cable runs through finished walls take longer and cost more than runs through exposed areas, and that difference should be visible in the proposal rather than discovered on installation day.
What the proposal should contain
A usable proposal states the camera positions, the camera type at each position, the recorder capacity, the cable route, and what the handover will cover. It should also state what is excluded, such as making good after drilling or work on unrelated electrical circuits.
Eyonic's published package structure gives a sense of what a basic scope includes. The Hikvision CCTV Package at RM 1,599 covers camera supply and setup, basic recording configuration, and mobile viewing handover. That is a defined starting scope, and larger properties will exceed it.
. Step by Step from Survey to Handover
The installation day itself follows a predictable order. Understanding it helps a property owner know what to expect and when the system will be usable.
- Confirm positions. The installer marks each camera position and confirms it with the property owner before drilling.
- Run cable. Cable is routed from each position back to the recorder, with protection at exposed sections.
- Mount brackets and cameras. Brackets are fixed, cameras attached, and connections sealed against weather.
- Install the recorder. The recorder is positioned, powered, and connected to the network.
- Aim and focus. Each camera is adjusted while a live view is checked, so the final angle is verified rather than assumed.
- Configure recording. Recording schedules, motion settings, and storage behaviour are set.
- Set up remote viewing. Mobile access is configured and tested on the owner's device.
- Handover. Playback, alerts, and basic troubleshooting are demonstrated, and questions are answered on site.
Steps five and seven are the ones most often rushed. A camera that is mounted but not verified on a live view may be aimed slightly off, and remote viewing that is configured but not tested on the owner's own phone may fail the first time it is needed.
How long the work takes
A small residential installation with four cameras and short cable runs is typically a single-day job. Larger properties, long cable runs, or work that has to be scheduled around business hours extend the timeline. Commercial sites often prefer installation outside operating hours, which adds a scheduling constraint rather than a technical one.
Lighting Cabling and Recording Setup in Malaysian Conditions
Malaysian outdoor conditions put specific demands on an installation. Heavy rain, high humidity, strong afternoon sun, and lightning activity all affect how equipment should be positioned and protected.
Lighting is the first consideration. A camera facing west catches direct afternoon sun and can produce glare for several hours. A camera under a deep eave may receive almost no ambient light at night. Checking the actual light at each position, at the time of day that matters, is more reliable than judging from a daytime visit alone.
Cabling is the second. Exposed cable runs should be protected in conduit, and connections should be sealed rather than left open to rain. Where cable has to cross an open area, the route should be chosen for protection first and convenience second.
Recording setup is the third. The recorder needs enough storage for the retention period the property actually requires, and motion-based recording conserves storage but can miss the start of an event if sensitivity is set too low. Remote viewing depends on a stable internet connection at the recorder, and a connection that drops intermittently produces the most common complaint about any camera system.
Where the practical limits sit
No camera system compensates for a position with no light and no supplementary illumination. No recorder compensates for an internet connection that fails daily. No placement compensates for a camera aimed at a wall. These are constraints to identify during the survey, not problems to solve after handover.
For properties that already run alarm, intercom, or access-control equipment, the camera system should be planned alongside those rather than added afterwards. Eyonic supplies and installs alarm systems, autogate packages, keyphone intercoms, and CCTV as related services, which means the cabling and device placement can be coordinated in one plan instead of three separate visits.
. Planning the Next Practical Step
The most useful preparation is a clear description of the property and what the cameras need to cover. A site survey converts that description into positions, a camera count, and a cable route.
Information worth having ready before a survey:
- The property type and approximate size, such as a terrace house, shop lot, or office floor.
- The entry points that need coverage, including gates, doors, and any rear or side access.
- Whether recording needs to be reviewed remotely, and on how many devices.
- Any existing security equipment the new system should work with.
- Whether installation can happen during business hours or must be scheduled outside them.
Budget expectations vary widely with camera count and cable complexity. Eyonic's published packages start at RM 1,599 for a basic Hikvision CCTV setup covering camera supply, recording configuration, and mobile viewing handover. Larger commercial work sits in a different range: Eyonic's Kuching Immigration Office project carried an approximate budget of RM 12,000 to RM 28,000, and the KTA Sarawak Sdn Bhd office project carried an approximate budget of RM 8,000 to RM 18,000. Those figures reflect scope and site conditions rather than a standard rate.
For readers weighing DIY against professional installation, the dividing line is usually cabling and configuration rather than mounting. A single wireless camera on an existing power point is a reasonable DIY task. Multiple wired cameras, a recorder, protected cable runs, and remote viewing configured for several users is where professional installation saves rework.
Share the property location, property type, and required system with Eyonic on WhatsApp at +60 11-5111 7959 to arrange the next practical step.