
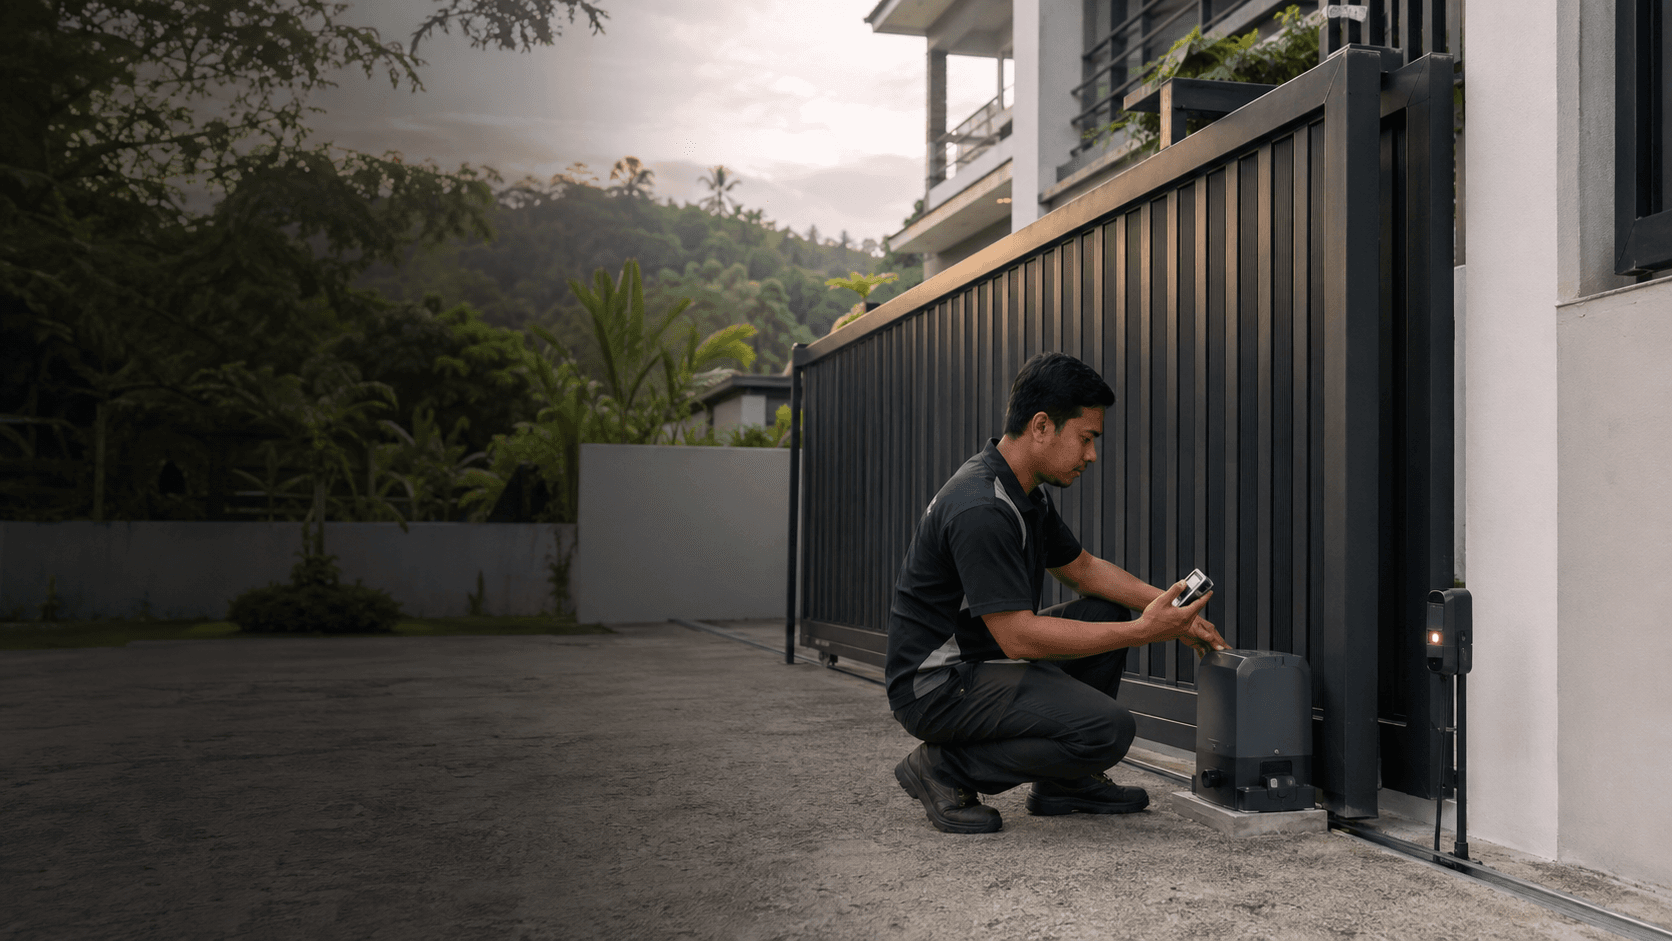
What solar gate installation covers
A complete solar gate installation typically involves four connected parts: the gate opener motor, the solar panel, the battery, and the control board that receives signals from the remote control. The solar panel charges the battery during daylight hours, and the battery supplies power when the gate opener motor runs. Unlike a mains-powered unit, there is no continuous draw from the grid, which makes the setup attractive for gates far from the house or for properties where trenching cable is impractical. The installation work itself goes beyond mounting the motor. It includes positioning the panel where it receives direct sun, running wiring between the panel, battery, and control board, and confirming the opener has enough force to move the gate. Each of these steps affects the others. A panel that sits in shade for part of the day, for example, will charge the battery more slowly, which matters if the gate is used frequently.Solar Gate Installation site checks for Malaysian properties
Before any equipment is mounted, a site survey should confirm that the property can support the system. Eyonic applies this same survey-first approach to its security installations, checking actual conditions before confirming placement rather than assuming a standard position will work. For solar gate installation, the equivalent checks are about the gate itself and the space around it.- Measure the gate leaf weight and confirm the slope of the driveway, because heavier gates and inclined tracks demand more force from the opener motor.
- Confirm the proposed panel spot receives direct sunlight for most of the day, noting any trees, roof overhangs, or neighbouring buildings that cast shade.
- Locate a dry, ventilated position for the battery and control board, close enough to the motor that wiring runs stay short and protected.
- Test the gate's manual movement before wiring, checking that it slides or swings freely without binding, since friction forces the motor to work harder.