
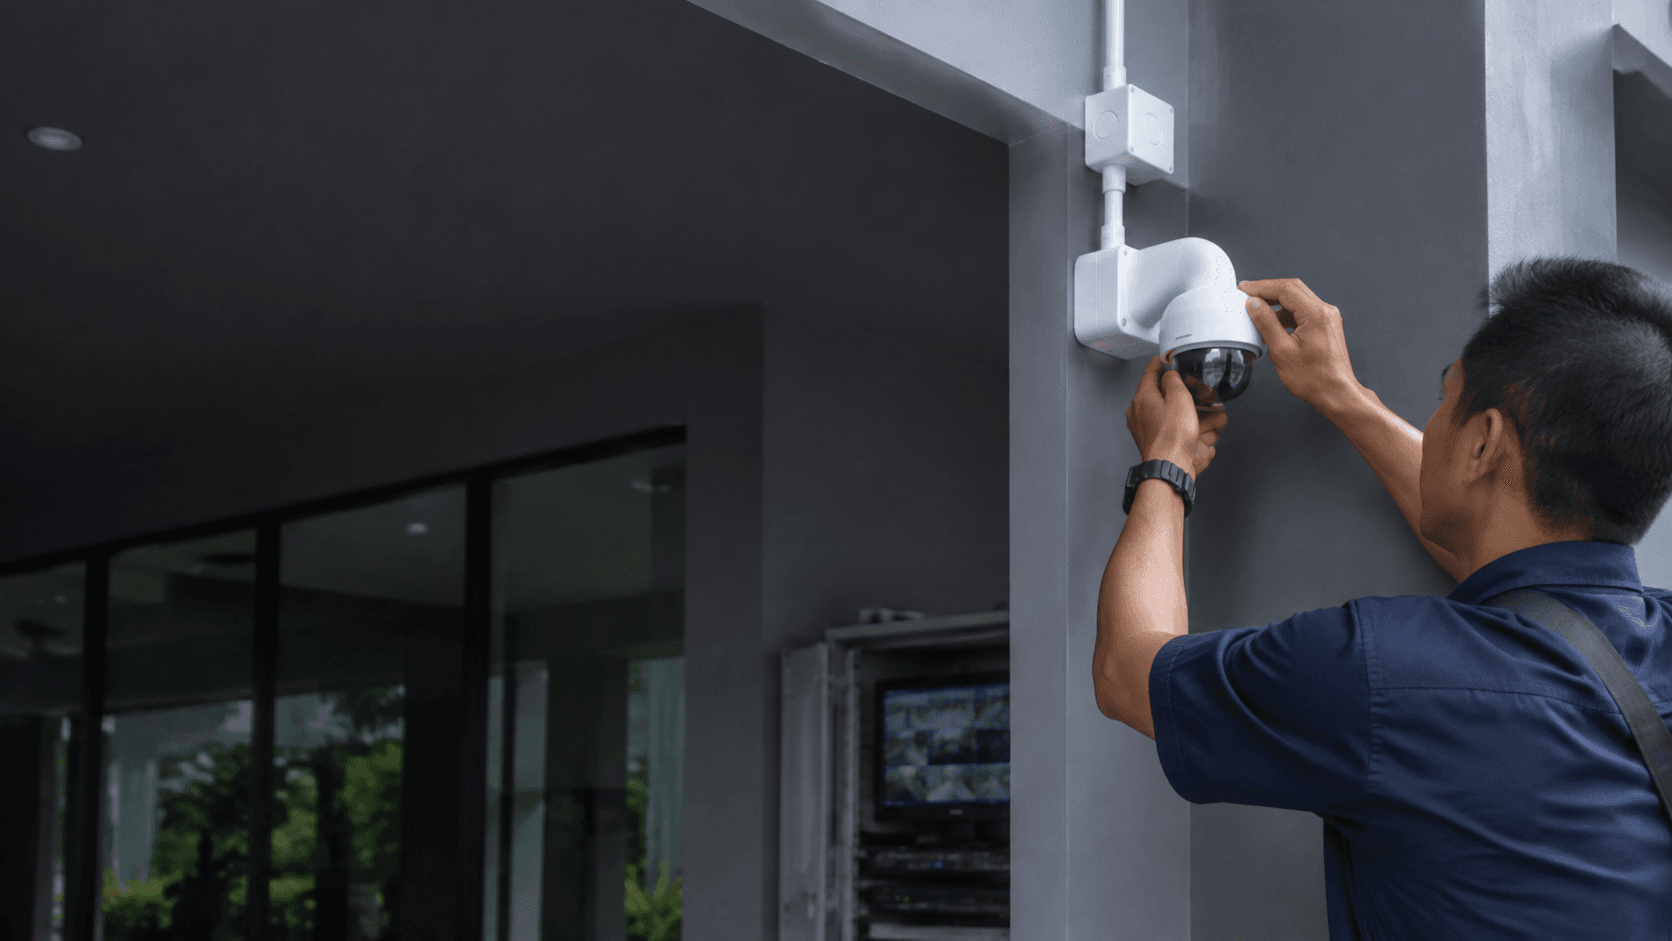
The appeal is cost and control. the hardware is inexpensive, the software is open, and the same board can run motion detection, storage, and remote viewing. The trade-off is that a Raspberry Pi surveillance camera is a project, not a product. Someone has to choose the camera, flash the operating system, configure the network, and keep the thing running.
Raspberry Pi Surveillance Camera: What Matters Before You Choose
Most guides start with the camera module. That is the wrong order. The decision that shapes everything else is where footage is stored and how many cameras the system must handle.
A single Raspberry Pi Zero W with a camera module can watch one doorway. A Raspberry Pi 3 or 4 acting as a hub can manage several camera nodes at once, which is the architecture Random Nerd Tutorials documents in its MotionEyeOS build: one hub board, multiple Zero W camera nodes, and a 1TB SATA drive for storage. The hub approach costs more in hardware but keeps recordings in one place instead of scattered across SD cards.
Storage is the constraint that surprises people. SD cards wear out under continuous writing, which is why the documented builds pair the hub with a SATA drive over a USB adapter rather than recording to the card the operating system runs on.
Choosing the Right Raspberry Pi Surveillance Camera
Camera modules differ in ways that matter for surveillance specifically: sensor resolution, low-light behaviour, and whether the infrared filter can be removed for night work.
The Pi Hut stocks the range that most builds draw from, including the tiny ZeroCam, the official Camera Module 3, NoIR versions for night photography, and the High Quality Camera for interchangeable lenses. SunFounder lists Camera Module 3, HQ, and night vision options with compatibility across Raspberry Pi 5, 4, and Zero W. The Reel Shot's comparison of 13 modules covers Arducam and RasTech alternatives alongside the official boards, and its selection criteria — sensor resolution, lens and focus type, model compatibility, and connectivity — are the same questions a surveillance build has to answer.
For surveillance, the practical shortlist is narrower than a general camera roundup suggests. A standard Camera Module handles daylight monitoring. A NoIR module without the infrared filter sees in near-darkness with IR illumination but produces colour-shifted footage in daylight. The High Quality Camera with a C-mount or CS-mount lens suits a fixed position where the field of view needs to be set precisely.
What is raspberry pi surveillance camera?
A Raspberry Pi surveillance camera is a do-it-yourself monitoring setup built from a Raspberry Pi board, a compatible camera module, and software that captures video, detects motion, and stores or streams the result. It is not a single product with a model number. The build combines three separate purchases — board, camera, storage — plus the configuration work to make them cooperate.
MotionEyeOS is the most commonly documented software layer for this. It runs on the Pi, presents a web interface, and can manage multiple cameras from one dashboard. The Random Nerd Tutorials build uses it to run a hub board plus several Zero W camera nodes, with frames saved to a 1TB SATA drive.
Security Camera With Raspberry Pi? - Raspberry Pi Forums
The Raspberry Pi forums carry a long-running thread titled "Security camera with Raspberry Pi?" where builders compare approaches. The recurring themes are power supply reliability, enclosure weatherproofing, and the gap between a working demo and a system that survives a year of daily operation.
A Reddit thread in r/RASPBERRY_PI_PROJECTS on security camera systems drew 13 votes and 21 comments, with the same practical concerns surfacing: how to power remote camera nodes, how to keep Wi-Fi stable, and what happens when a node drops offline.
An Instructables guide, "Raspberry Pi As Low-cost HD Surveillance Camera," describes a build that records HD video when motion is detected in the monitored area, with live viewing from any web browser including a mobile device. That is the standard capability set for this kind of project.
The honest limitation is maintenance. A commercial camera appliance is designed to be ignored. A Raspberry Pi surveillance camera needs updates, occasional SD card replacement, and attention when a node stops reporting. Builders who enjoy that work get a flexible system at low hardware cost. Builders who want to set it and forget it are usually better served by a purpose-built recorder.
Practical Considerations for Raspberry Pi Surveillance Camera
Five decisions determine whether the build works in practice.
- Pick the board by camera count, not by price. One camera runs on a Zero W; a multi-camera hub needs a Pi 3 or 4 with enough USB and network headroom.
- Choose the camera module by lighting condition. Standard module for daylight, NoIR for infrared-assisted night work, High Quality Camera when the lens needs to be specified.
- Decide storage before installation. Continuous recording belongs on a SATA drive over USB, not on the operating system's SD card.
- Plan power for every node. Remote camera nodes need a stable supply, and power problems are the most common failure reported in builder threads.
- Set the network up to survive a reboot. Static addresses or DHCP reservations prevent the hub from losing cameras after a power cut.
Enclosure and mounting get less attention than they deserve. A camera module rated for indoor use will not survive direct rain, and the documented builds treat enclosures and power supplies as a separate design problem from the software.
Where a Raspberry Pi surveillance camera fits, and where it does not
The build suits a single doorway, a gate, a workshop, or a hobbyist who wants to experiment with computer vision. It also suits anyone who needs footage stored on hardware they control rather than in a vendor's cloud.
It fits poorly where coverage must be continuous and unattended. A shop with multiple entrances, a site with after-hours risk, or a property where footage may need to be produced for an insurer or authority all point toward a system with defined recording, retention, and handover — the kind of scope Eyonic Sdn Bhd plans and installs for homes, offices, shops, and industrial sites in Sarawak, covering camera placement, recording, and remote viewing.
Lighting is the deciding factor in both cases. Eyonic's guidance on ColorVu-style cameras is to check actual lighting conditions before confirming placement, and the same discipline applies to a Pi build: a camera module chosen for daylight will disappoint at a gate with no illumination.
Making an Informed Choice About
The build is worth doing when the goal is learning, control over storage, or a single low-traffic viewpoint. It is worth reconsidering when the goal is dependable coverage of a business premises.
For readers in Sarawak weighing a DIY build against an installed system, Eyonic's CCTV installation process runs through site survey, system proposal, installation, and handover — the same sequence a Pi builder works through alone, but with the survey and handover handled by someone else. Eyonic's published packages start at RM 1,599 for a Hikvision CCTV package covering camera supply and setup, basic recording configuration, and mobile viewing handover. Completed work includes the Kuching Immigration Office project, focused on arrival flow, staff areas, visitor movement, and dependable daily operation, and the KTA Sarawak Sdn Bhd office setup in Kuching covering staff movement, visitor handling, and tidy cabling.
For a DIY build, the equivalent first step is a walk around the property at the hours that matter, noting where light falls and where a cable can actually reach. That single exercise eliminates most of the placement mistakes that show up after installation.
Share your location, property type and required system with Eyonic on WhatsApp at +60 11-5111 7959 for the next practical step.