
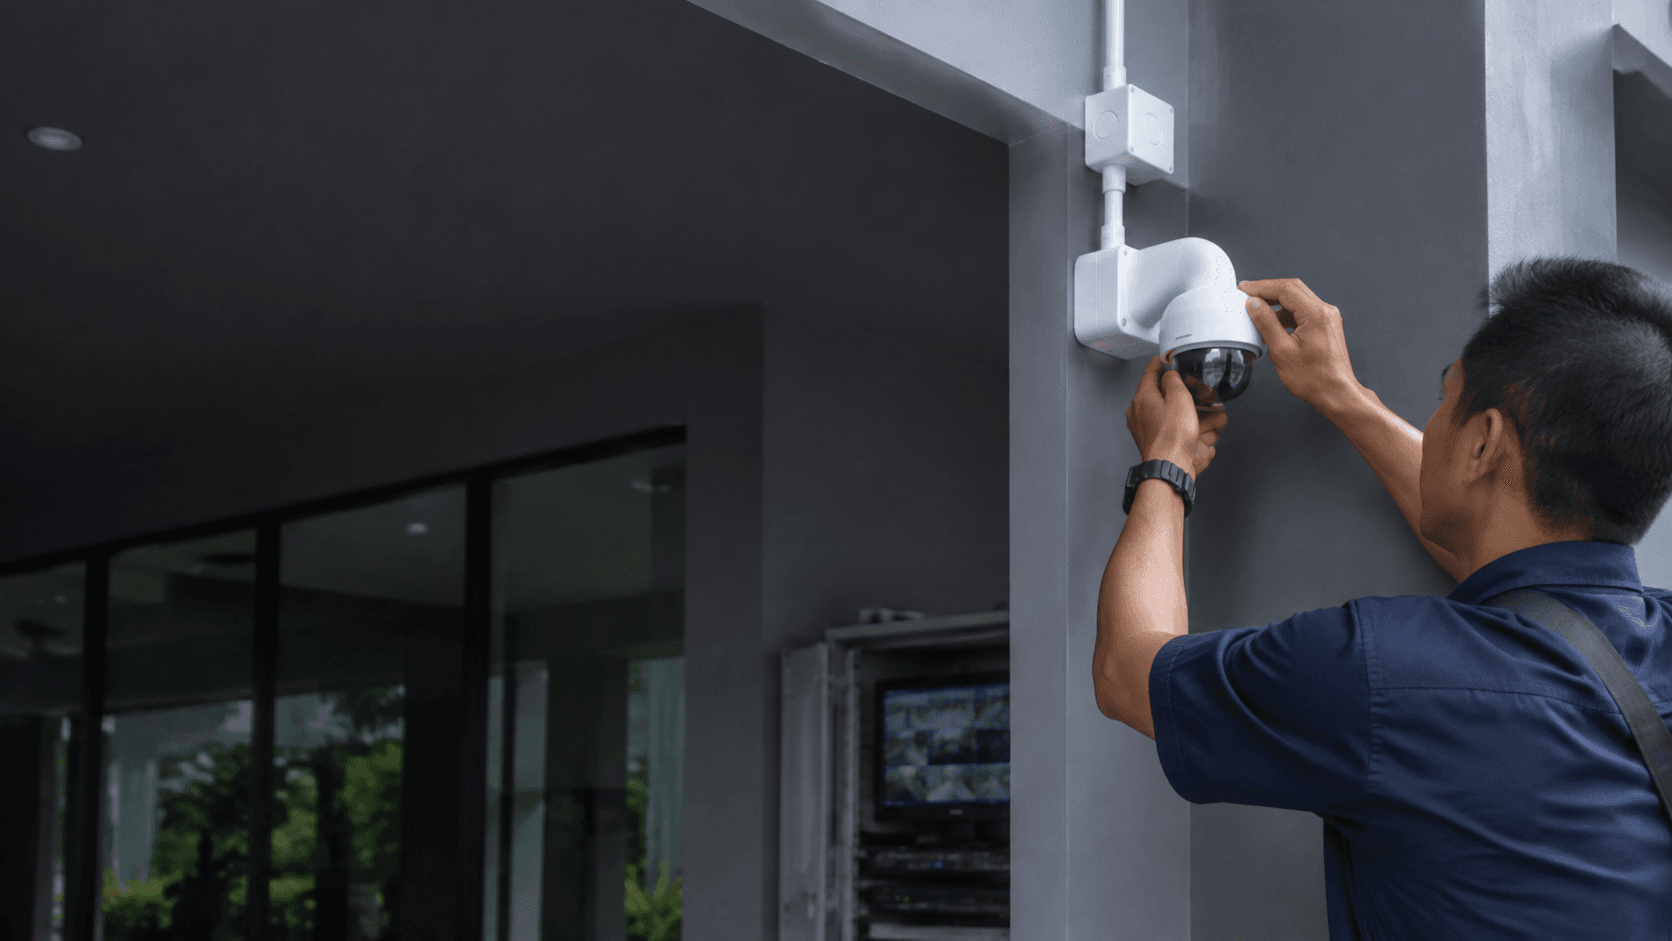
That sequence comes from SimpliSafe's own support documentation for its wireless outdoor cameras, and it is the same order whether the camera is mounted on a house in Kuching or anywhere else. What changes between sites is not the app steps but the physical conditions around them: where the camera can see, where power reaches, and whether Wi-Fi holds at the mounting point.
This page covers the sequence, the placement checks that decide whether the camera works daily, the power and signal trade-offs, and where a local installation team fits in. It does not reproduce SimpliSafe's full setup manual, and it does not state SimpliSafe specifications, prices, or Malaysian availability, because those details are not verified here.
What the Simplisafe Outdoor Camera Installation Sequence Covers
SimpliSafe's published guides break the job into a preparation stage, an app and pairing stage, a connection test, and a mounting stage. The order matters because the camera is easier to configure before it is fixed to a wall.
- Charge the camera battery fully and assemble the camera as the guide directs.
- Add the camera in the SimpliSafe mobile app and pair it to the base station.
- Connect the camera to the Wi-Fi network and confirm it reports online.
- Choose a candidate location and run the in-app connection test at that spot.
- Mount the camera using the supplied mount and hardware.
- Fine-tune the angle while watching live view, then confirm recording and remote viewing.
The first three items are software work and can be done indoors at a table. The last three are physical work and depend on the building. A Simplisafe outdoor camera installation that stalls usually stalls at item four, because the spot with the best view is often the spot with the weakest signal.
Why the app stage comes before the drill
Pairing and Wi-Fi setup need the camera awake and close to the base station. Once the camera is on a wall, re-running those steps means climbing back up. Completing them first turns a two-person job into a one-person job.
Placement Checks That Decide Whether the Camera Works Daily
Placement is the part of a Simplisafe outdoor camera installation that no manual can finish, because it depends on the property. Three checks cover most of it.
Coverage and angle. The camera should watch the approach a person actually uses, not the widest available view. A camera aimed too high catches sky and misses faces; one aimed too low catches pavement. Mounting height and angle are usually settled by watching live view at the proposed spot before any hole is drilled.
Light at night. Daytime testing says nothing about night performance. Eyonic's own guidance on ColorVu-style cameras is to check actual lighting conditions before confirming placement, and the same discipline applies to any outdoor camera: stand at the position after dark and look at what the camera will see.
Obstruction and weather exposure. Trees that move, walls that block the view, and positions fully exposed to driving rain all affect daily reliability. A position under an eave usually serves better than one on an open wall.
Signal at the camera position, not at the router
Wi-Fi strength at the desk is irrelevant. SimpliSafe's guides include a connection test precisely because signal and upload speed at the mounting point decide whether live view and clips arrive reliably. A position that fails the test needs a different spot, a Wi-Fi extender, or a wired power and network path instead.
Power, Signal and Mounting Choices Around a Simplisafe Outdoor Camera Installation
SimpliSafe's outdoor cameras are battery-operated, and the guides describe both battery use and optional power through a power cable or solar panel. That choice shapes the rest of the job.
Battery-only mounting is the least invasive: no cable run, no electrician, and the camera can go where the view is best. The trade-off is a recurring recharge cycle, which means the mount has to be reachable. A camera mounted high for security but awkward to reach turns every recharge into a ladder job.
Permanent power removes the recharge cycle but adds a cable route. The route has to be weather-sound, tidy, and acceptable to the building owner. On a tiled or rendered wall in Sarawak, that route is often the slowest part of the work.
Mounting hardware follows the same logic. SimpliSafe supplies a mount with the camera, but the fixing has to suit the surface. A hollow wall, a concrete beam, and a metal gate each need different anchors, and the wrong anchor is the most common cause of a camera that drifts out of aim.
Recording and remote viewing after mounting
Mounting finishes the physical job, not the whole job. Recording configuration and remote viewing setup still have to be confirmed: the camera should appear in the app, record when it should, and stream when the owner is away from the property. SimpliSafe's own guides point to plan and system requirements for some of these features, so the exact behaviour depends on the account and system in use.
Where a Local Installation Team Fits Into a
The app and pairing steps are designed for the owner to complete. The physical steps are where local help earns its place, and the reasons are practical rather than technical.
Eyonic's CCTV installation process runs through site survey, system proposal, installation, and handover, and that shape maps closely onto the physical half of a camera installation: decide the position, agree the route and fixing, install, then hand over with the owner able to view and review footage. The Kuching Immigration Office project is an example of the same discipline applied to a public building, where arrival flow, staff areas, and visitor movement drove camera positions and dependable daily operation mattered more than any single feature.
A local team is most useful for the parts that need tools and judgement: drilling into the actual wall material, routing cable where it will survive weather, and confirming the view at night rather than at the time of the survey. A team already working on CCTV, alarm, autogate, or intercom systems can also check whether a new camera position conflicts with existing cabling or equipment.
One limit is worth stating plainly. Eyonic's documented work covers CCTV, alarm, autogate, intercom, and Starlink installation in Sarawak, not SimpliSafe products specifically. A property owner weighing a SimpliSafe camera against a locally supplied and locally installed system should treat the two as different propositions: one is a self-installed product with app-led setup, the other is a supplied and installed system with local support. Neither is automatically better; they differ in who does the work and who is called when something fails.
Questions to Settle Before Booking Any Camera Work
Four questions resolve most of the uncertainty before anyone drills.
Is the camera position reachable for maintenance? If the battery will be recharged by hand, the mount height has to allow it. If not, permanent power changes the plan.
Does the signal hold at that exact spot? The in-app connection test answers this. A position that fails it should be moved or supported with an extender before mounting.
What does the position look like at night? Lighting, glare from nearby lamps, and the direction of the approach all matter more after dark than during a daytime survey.
Who handles the physical work? A self-install keeps cost down and control with the owner. A local team handles wall material, cable routing, and handover, which is often the difference between a camera that works on day one and one that still works in the rainy season.
For properties in Sarawak, Eyonic can review the location, property type, and required system and advise on the practical next step. Share those details on WhatsApp at +60 11-5111 7959.