
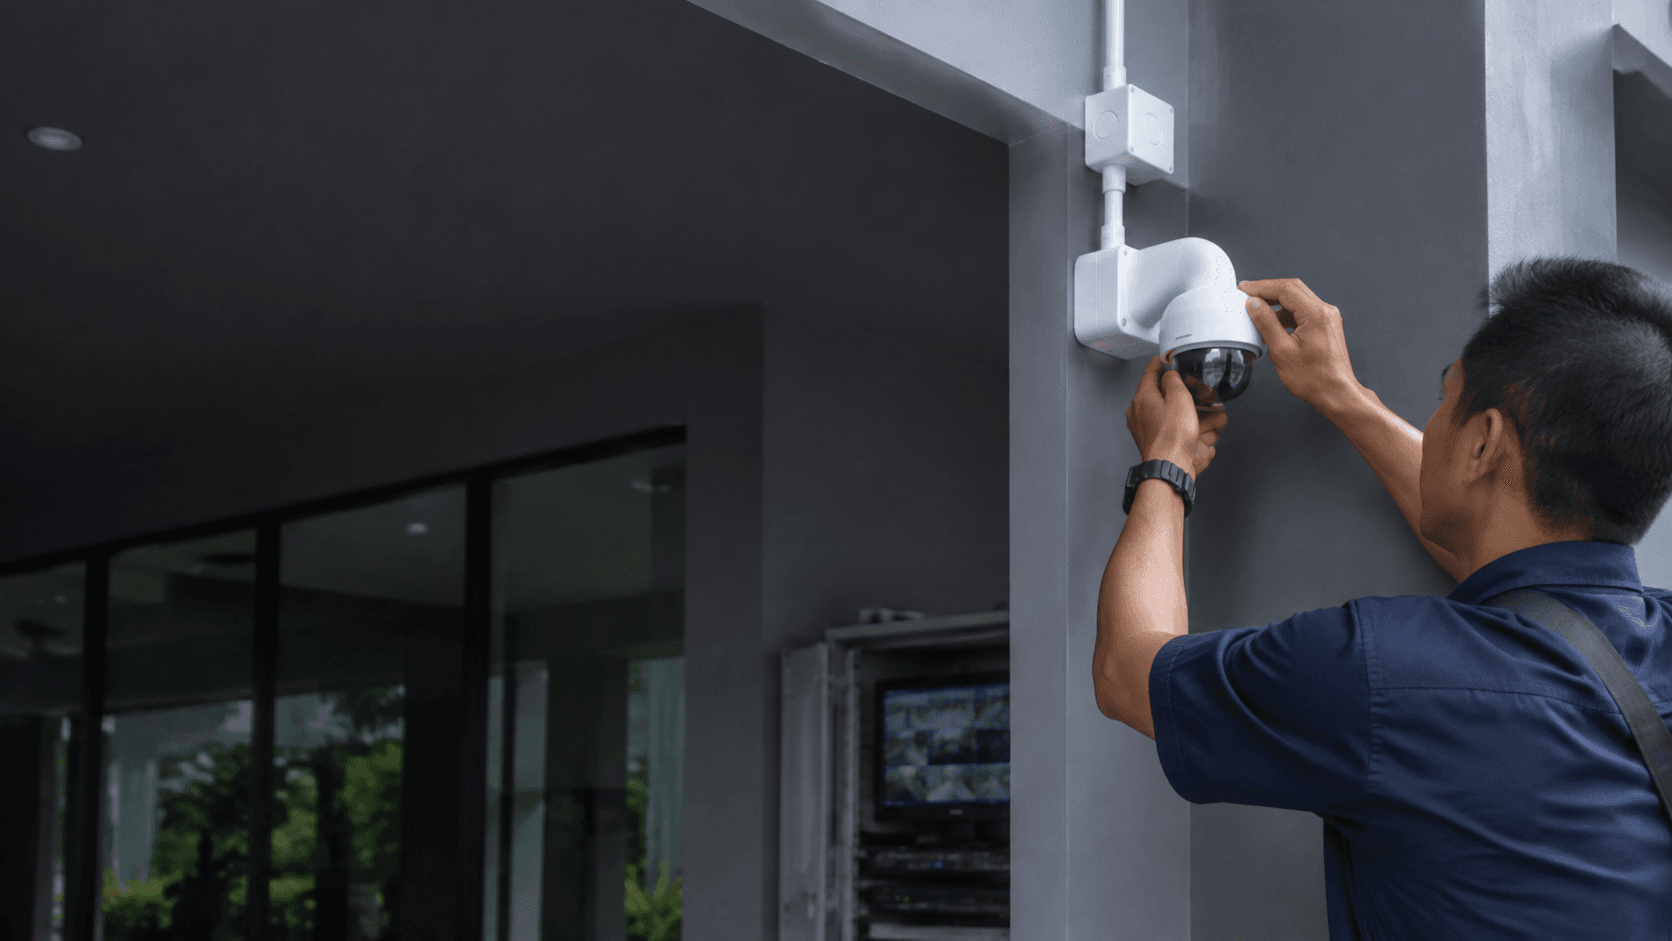
The exact-match query unv ip kamera mixes two languages: "unv" is the short brand form of Uniview, and "ip kamera" is Malay for IP camera. Buyers in Malaysia searching this term are usually comparing camera types, checking whether a recorder is needed, and working out how a system gets installed. The sections below cover what the term means in practice, how camera types and recording fit together, how placement gets planned, and what the installation sequence looks like from survey to handover.
What unv ip kamera means in practice
An IP camera sends video as data over a network cable rather than as an analogue signal over coax. That single difference shapes everything else: power can travel on the same cable through PoE, recording happens on a network video recorder or a software platform, and remote viewing becomes a network configuration task rather than a separate device.
UNV is the short form of Uniview, a manufacturer whose catalogue spans network cameras, recorders, and management software. A buyer searching unv ip kamera is typically looking at one of three situations: replacing an ageing analogue system, adding coverage to an existing network setup, or specifying cameras for a new building before cabling goes in.
The practical question is rarely "which brand" in isolation. It is whether the camera, recorder, cabling, and viewing software work as one system on the site in question. A camera that meets a specification sheet can still disappoint if the recorder cannot handle the stream, if the network switch cannot deliver power, or if the mounting point faces the wrong direction.
Where the term sits in the buying journey
Most searches for unv ip kamera happen before a model is chosen. That makes the useful content comparative and planning-focused rather than specification-heavy. Model codes, resolutions, and lens options change between product generations, so any figure quoted without current manufacturer documentation is a liability rather than a selling point.
Unv Ip Kamera camera types and recording options
Camera shape follows the job. The common categories are dome, turret, bullet, and PTZ, and each suits different mounting positions and coverage angles.
Dome cameras sit flush against a ceiling or bracket and are common indoors where a low-profile look matters. Turret cameras offer a similar footprint with a different housing that can reduce reflections in some lighting conditions. Bullet cameras mount on walls and brackets and suit longer outdoor runs where the camera body is visible. PTZ cameras pan, tilt, and zoom, which suits wide areas where an operator needs to follow movement rather than watch a fixed frame.
Recording is the second decision. A network video recorder stores footage from multiple cameras and provides the playback interface. Some sites instead run video management software on a server, which suits multi-site or larger installations where footage from different locations needs one view. The choice affects storage sizing, network load, and who can access what.
What to settle before comparing models
Three questions narrow the field faster than any specification table. How many cameras are needed now, and how many might be added later? Where will footage be stored, and for how long? Who needs to view live or recorded video, and from where?
Answers to those questions determine recorder channel count, storage capacity, and network design. They also expose constraints early, such as a site with no dedicated equipment room or a building where running new cable is difficult.
Planning camera placement before purchase
Placement decides whether a system is useful. A camera aimed at the wrong angle captures motion without capturing identity, and no amount of resolution fixes that after installation.
Start with the entry and exit points. Doors, gates, and vehicle access points carry the highest value because they capture who arrives and when. Then cover the areas where assets or people are concentrated, such as a counter, a stockroom, or a parking bay. Finally, consider the paths between those points, because movement between two covered areas is often where detail is lost.
Lighting is the constraint that most often gets skipped. A position that looks clear in daylight can produce a washed-out or grainy image at night, depending on what light sources exist and how they change after dark. Checking actual lighting conditions at the proposed position before confirming placement avoids a camera that only works during the day.
Practical placement constraints
Height matters in both directions. Mounting too low invites tampering or accidental contact; mounting too high can turn faces into the tops of heads. Cable routes matter too, because a camera position that requires a long, awkward run adds cost and can introduce signal or power problems.
Privacy and neighbouring property are worth considering early, particularly where a camera angle could overlook an adjacent unit or a public walkway. Adjusting an angle before installation is straightforward; adjusting it after a complaint is not.
Installation steps from survey to handover
A structured process keeps a camera project predictable. The sequence below reflects how a CCTV installation is typically organised, from the first site visit through to the point where the system is handed over.
- Site survey. Walk the property, identify coverage priorities, check lighting at each proposed position, and note cable routes, power availability, and mounting surfaces.
- System proposal. Match camera types and count to the coverage plan, size the recorder and storage, and set out what the installation includes.
- Installation. Mount cameras, run and terminate cabling, install and configure the recorder, and set up remote viewing access.
- Handover. Confirm live and recorded views work, walk through playback and mobile access, and leave the site with the system in a usable state.
The survey stage carries the most weight. Decisions made there about camera positions and cable routes are expensive to reverse later, while decisions about recorder settings can be adjusted at any time.
What handover should include
Handover is not just switching the system on. It should confirm that each camera produces a usable image at the times of day that matter, that recorded footage can be found and played back, and that the people who need remote access can actually reach it. A system that works but cannot be operated by the staff on site has not been finished.
Working with an installer in Sarawak
Eyonic Sdn Bhd plans, supplies, and installs monitoring systems with camera placement, recording, and remote viewing for homes, offices, shops, and industrial sites in Sarawak. The company's founder, Eric Yong, has worked in the industry for more than ten years, with experience in technical installation of digital security solutions for commercial businesses in Sarawak.
Completed work includes a project for the Kuching Immigration Office, focused on arrival flow, staff areas, visitor movement, and dependable daily operation. A separate project for KTA Sarawak Sdn Bhd covered a practical office setup in Kuching supporting staff movement, visitor handling, tidy cabling, and clearer daily site control.
Those projects illustrate a pattern worth noting when comparing installers. Public offices and consultancy sites tend to prioritise coverage of movement through a building and cabling that stays tidy over time, rather than the highest available camera specification. The same logic applies to most commercial premises.
Questions worth asking an installer
Ask how camera positions will be decided and whether lighting at each position will be checked before installation. Ask what happens if a camera angle needs adjusting after handover. Ask who configures remote viewing and whether staff will be shown how to use playback. Ask what the recorder and storage sizing is based on.
An installer who can answer those questions in plain terms is usually working from a plan rather than a product list. Where a site has specific requirements, such as a need to retain footage for a set period or to give different staff different access levels, raise those during the survey rather than after installation.
Questions to settle before confirming a system
Several decisions are cheaper to make before installation than after. Camera count and position are the most obvious, but recorder capacity, storage duration, and network design carry similar weight.
Storage duration is often underestimated. Retaining footage for longer requires more disk capacity, and the requirement usually comes from an internal policy or an operational need rather than a technical preference. Settling that number early prevents a recorder that fills up faster than expected.
Remote access is the other common gap. Viewing footage from a phone or a second location depends on the network at the site, the recorder configuration, and the access method chosen. Testing that access during handover, rather than assuming it works, avoids a system that is only usable from one desk.
Finally, consider how the system will grow. Adding cameras later is simpler when the recorder has spare channels and the network has spare capacity. That headroom costs little at the planning stage and saves a replacement purchase later.
For sites in Sarawak, sharing the location, property type, and required system with Eyonic on WhatsApp at +60 11-5111 7959 gives a practical starting point for the next step.